Photographing mushrooms for better identification
Angles, light, and the underside shot that makes or breaks a match.
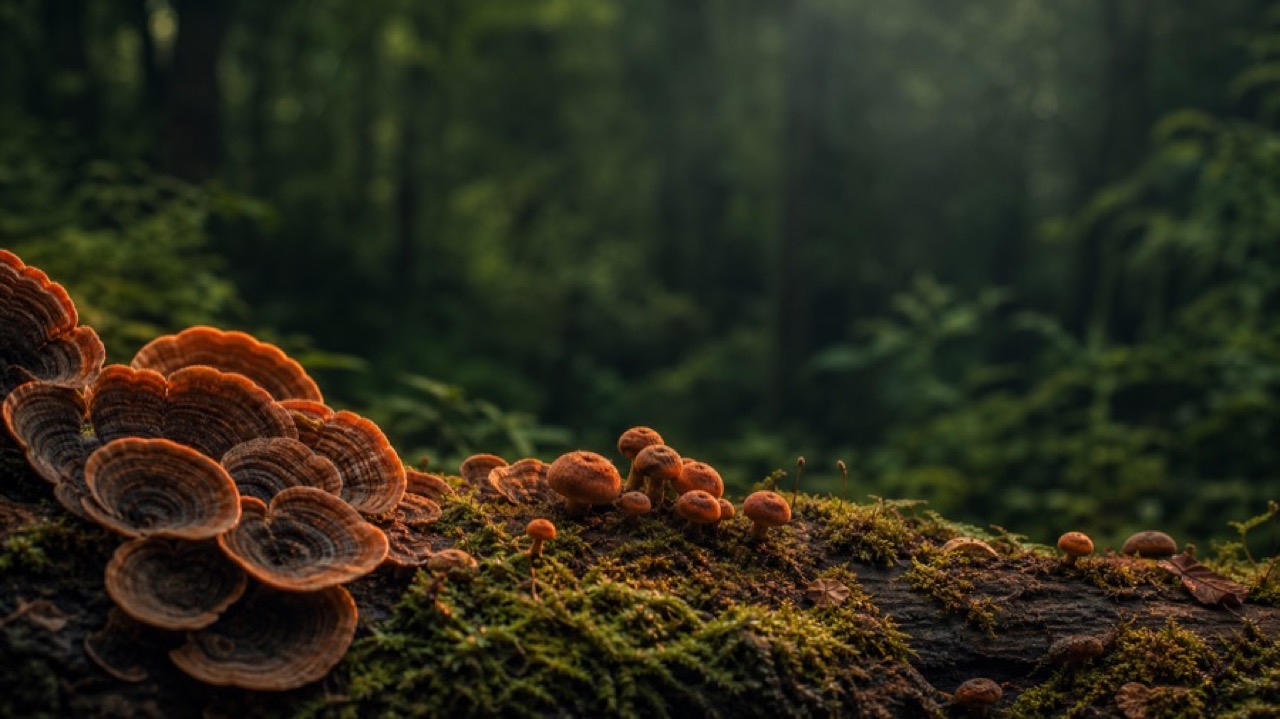
A good identification often depends on a good photo. Whether you're matching a find against a confidence reading or saving it to study later, the picture has to carry the features identification depends on. Most failed matches aren't the tool's fault — they're a single blurry shot of a cap from above, missing everything underneath. A few habits turn your photos from pretty pictures into useful records.
Shoot the mushroom from every angle that matters
No single photo captures a mushroom. Aim for a small set that, together, shows the whole organism:
- The cap from above. Shape, color, surface texture, and the margin.
- The side, at the mushroom's own level. Get the camera down low so you see the profile — cap, stem, and how they meet.
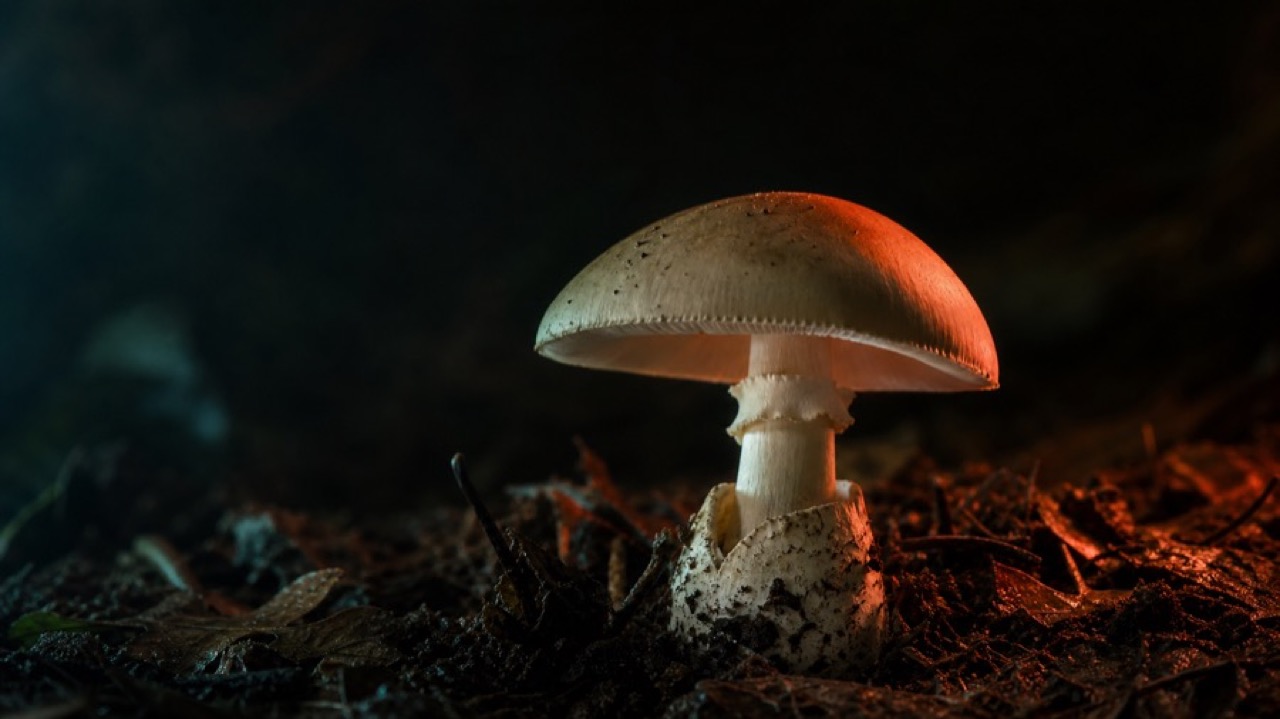
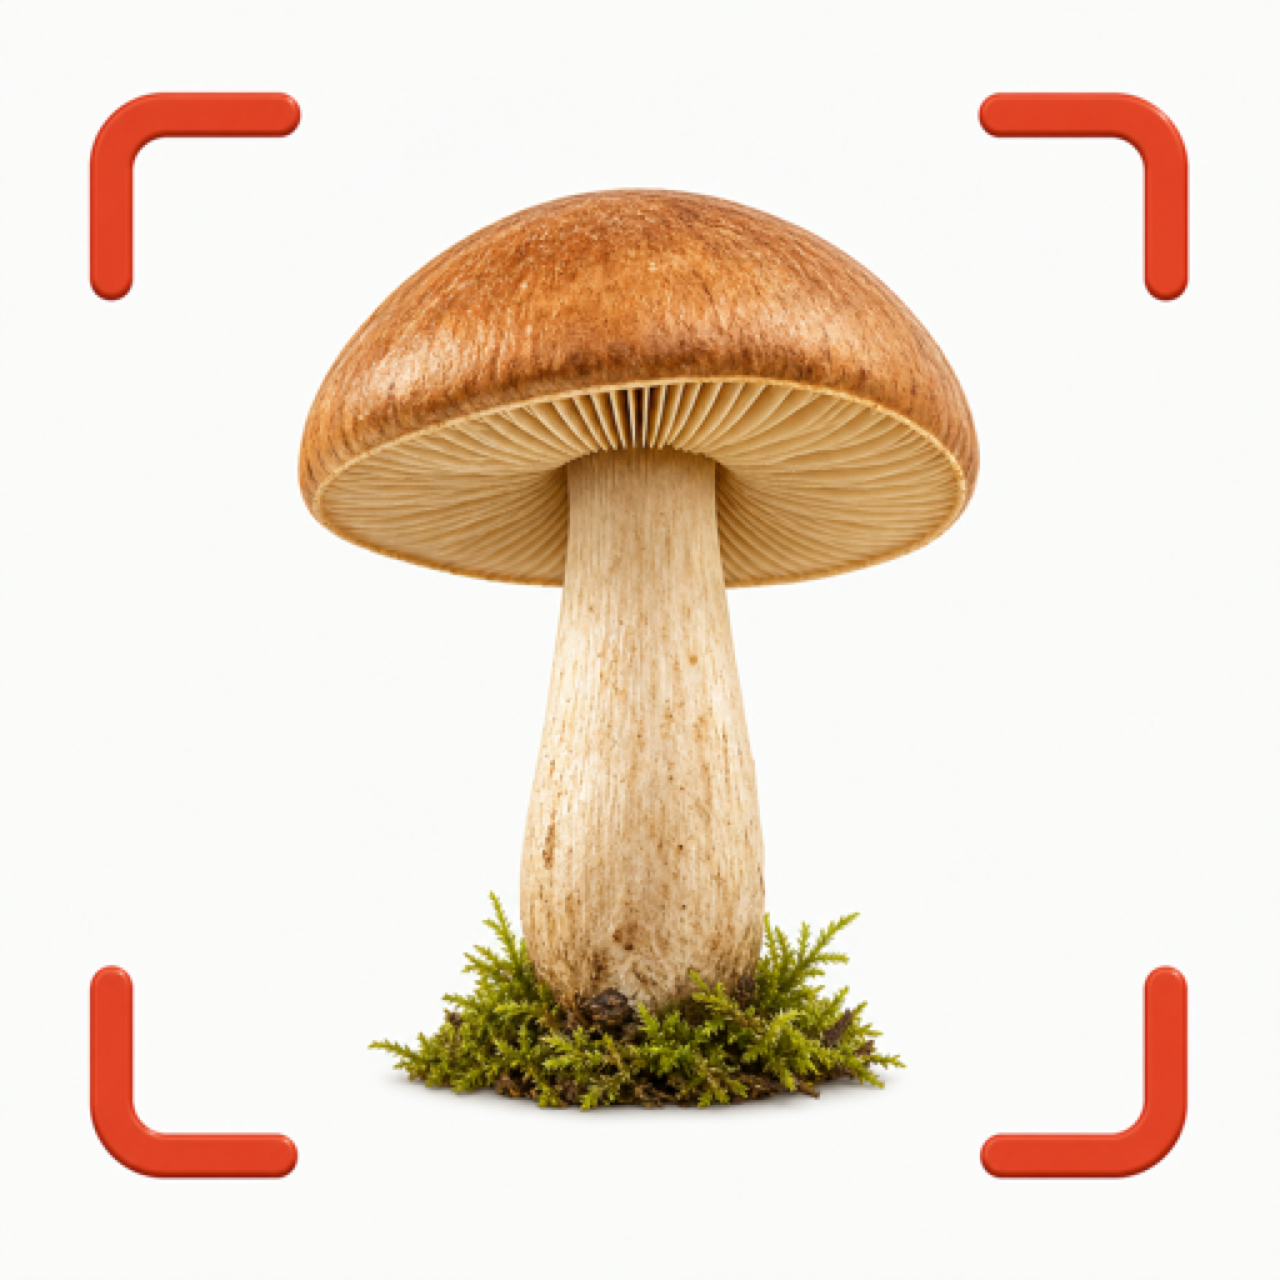
- The underside. This is the most important shot of all. Tilt one specimen or gently lift it so the gills, pores, or teeth, the stem, and the ring are clearly visible.
- The base. Carefully expose the very bottom — a cup, bulb, or rooting threads — and photograph it with the soil cleaned away.
The underside shot makes or breaks the match
If you take only one careful photo, make it the underside. The gills or pores, their attachment to the stem, the ring, and the base together carry more diagnostic weight than the cap's color ever will. Beginners photograph the pretty top and wonder why matches come back uncertain; the information identification needs is on the side most people never shoot.
Get the light and focus right
- Soft, even light. Overcast days are ideal. In harsh sun, shade the mushroom with your body to kill blown-out highlights and black shadows.
- Steady and sharp. Brace your elbows or rest on the ground. Tap to focus on the gills or cap surface, not the blurry background.
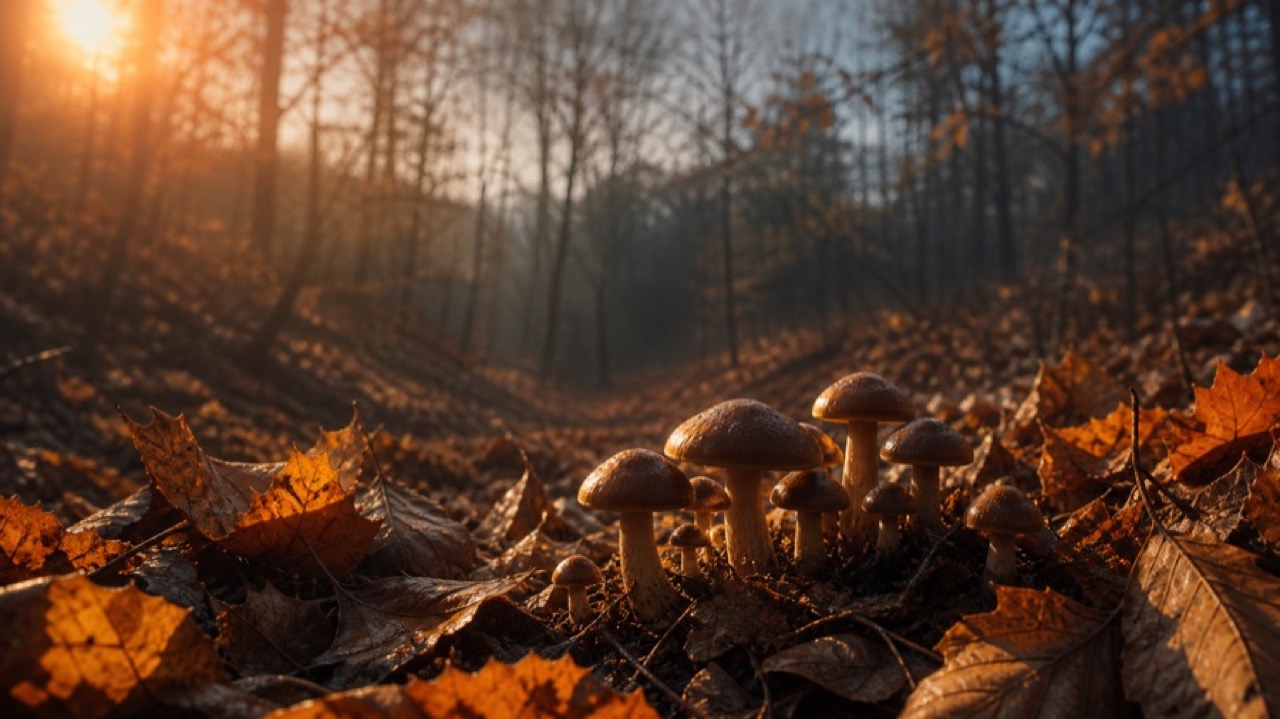
- Fill the frame, but keep context. Get close enough to show texture, but take at least one shot that includes the surrounding habitat.
- True color. Avoid heavy filters and unusual white balance; the actual colors are field marks, and distorting them defeats the purpose.
Capture the things a photo can't show
Some of the most useful information isn't visual, so record it alongside the images:
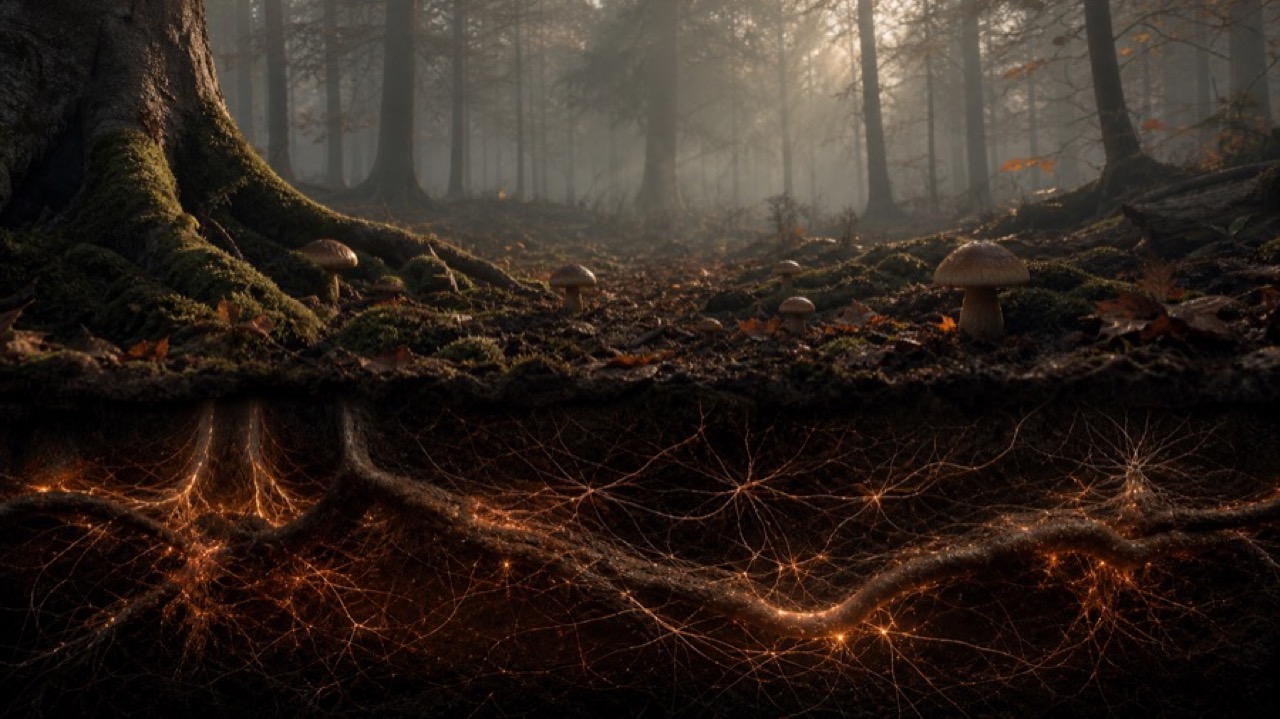
- Habitat and host tree. What it's growing on or near — soil, wood, lawn, and the nearest trees.
- Scale. Include something for size, or note approximate dimensions.
- Smell and texture. Note any distinctive odor and whether the flesh is brittle or fibrous.
- Bruising. If the flesh changes color when cut or rubbed, photograph it and note how fast.
A simple routine
When you find a mushroom worth recording, run the same sequence every time: cap from above, side profile, underside, base, plus one wide shot of the habitat. Add a quick note of where and what it's growing on. Five frames and a sentence give you — and any tool you use — everything needed to work from later.
Better photos make for better learning and more reliable matches. They never make a mushroom safe to eat. Never decide whether a mushroom is edible from a photo, a match, or this guide; consult a qualified mycologist for anything affecting your safety.
FAQ
What's the single most useful photo?
The underside — gills or pores, the stem, and the base. That view carries the features identification depends on most, alongside a clear shot of the cap from above and a note on habitat.